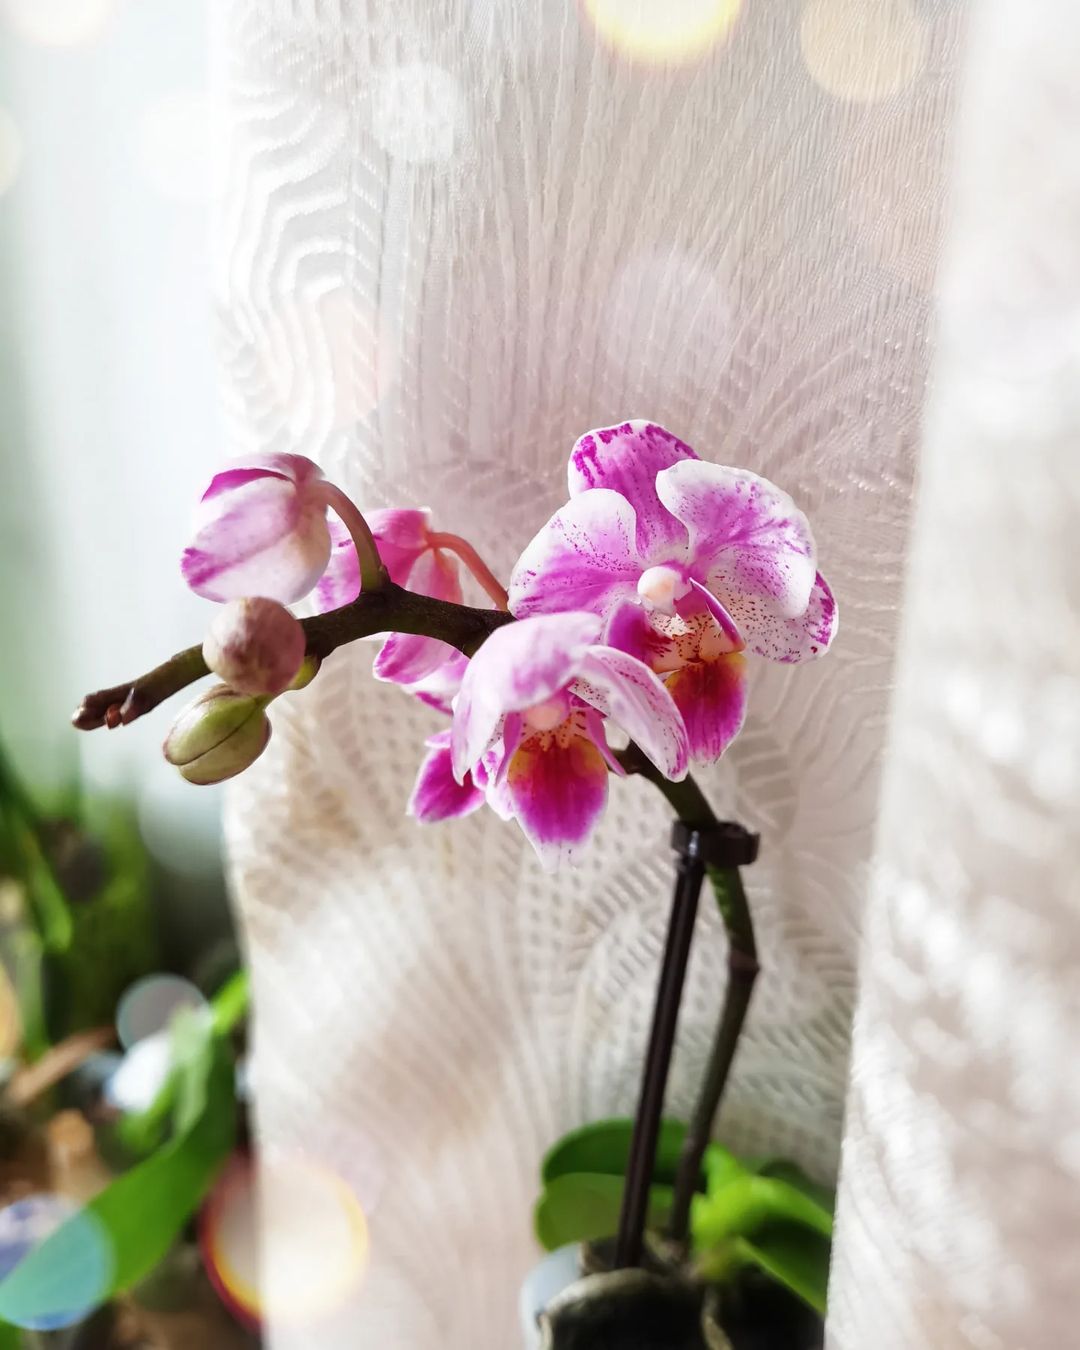
If you are lucky enough to have indoor orchids, then you know that they require a bit of special care in order to thrive. In this blog post, we will discuss some tips and tricks for taking care of your indoor orchids. We will cover everything from watering to fertilizing to light requirements. With a little bit of TLC, your indoor orchids can thrive and bloom for many months!
Features of indoor orchids
Orchids are one of the most popular flower species in the world, and for good reason – they are beautiful! There are many varieties of orchids, but all orchids have a few things in common. First, indoor orchids tend to require high levels of humidity in order to thrive.

Orchids are characterized by arched branches on which up to 5 flowers can grow at once. The flower has cup-shaped leaves that are soft and smooth to the touch. All petals are supported by the largest and deepest one, called the labella. It is the one that attracts the bees and allows itself to be pollinated.
The edges of the petals can be serrated, corrugated, or even shaped. Each petal is covered with a dense waxy film that prevents moisture from quickly evaporating.
Flowers come in a wide variety of shades, so you’re sure to find the perfect one for you.
Caring for indoor orchids
Care immediately after purchase
When you buy an indoor orchid, the first thing you need to do is to take it home and take proper care of it. Make sure that the soil mixture is moist, but not wet – if it is too wet, the roots will rot. The thing is, orchids usually grow on trees and their roots are open. They are the ones that collect the water, not the ones that are in the water.

Mature orchids are sold planted in small plastic containers, from which they need to be transplanted urgently. But you can’t touch the flower if its blooming period has begun. It is better to wait a few weeks and practically stop watering.
Transplanting into the right soil and potting

The thing about orchids is that it’s important to pick the right soil and pot. To begin with, take a small pot in which the entire root system of the orchid to be transplanted can fit.
Place small pieces of brick in the pot itself to give the pot good stability. Coco coir is very good at creating a fibrous environment when mixed with an orchid soil mixture. Coir itself absorbs water quickly, but stays moist, which is especially important for orchid roots. Among other things, you can add expanded clay aggregate to the mixture instead of brick pieces. This material is porous, not acidic or alkaline, so it is well suited for orchids.
Proper lighting
Good lighting is key to keeping your orchids healthy. Make sure they get plenty of bright light, but avoid direct sunlight. It’s best to put the pots on a window sill facing south or east.
Watering
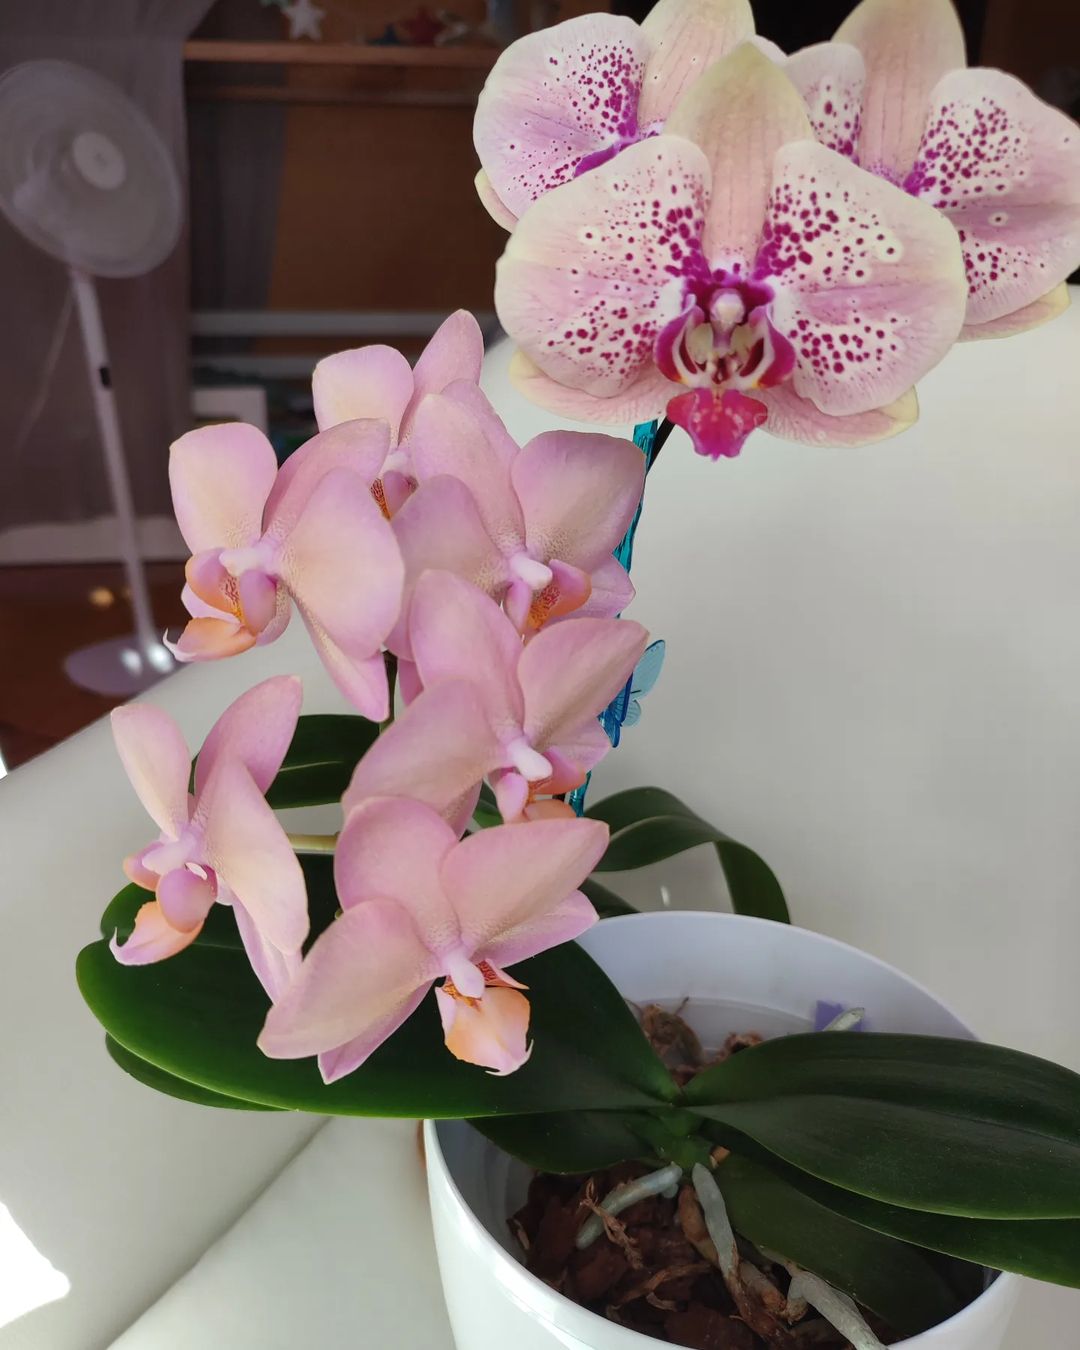
Orchids need water to thrive, but you don’t want to over-water. The best way to determine how much water your orchid needs is to wait until the top of the soil is dry and then water again. You can also check the pot’s moisture content by sticking your finger in the soil. If the top inch of soil is dry, then it’s time to water the plant.
But it’s best to stick to the following guidelines:
- During the summer months, it is important to water the orchid once a week, and to do so with plenty of water. The roots will then be saturated with water and will not experience a lack of moisture.
- From time to time you can move the plant to the sink and soak it. After that, it is very important to let the orchid dry. To do this, simply leave the flower on the windowsill and don’t water it until the soil is completely dry.
- During the winter, water once a month.
Humidity
One of the most important conditions for caring for indoor orchids is to maintain a high level of humidity. This can be done by placing the plants near a humidifier, sprinkling them with water daily or using a tray with pebbles.
Temperature
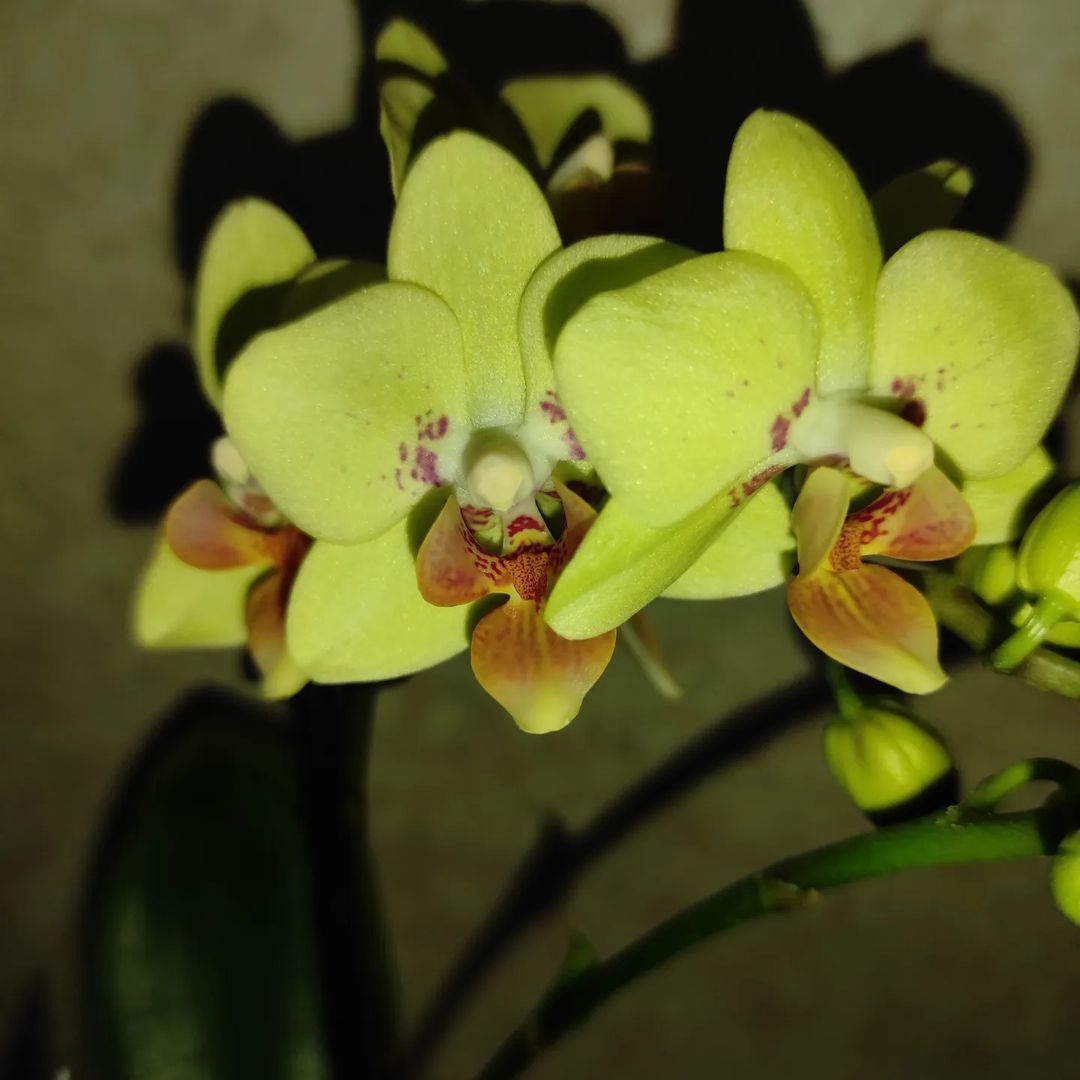
Make sure the temperature in your home is comfortable for your orchids. Most orchids thrive in temperatures between 65 and 80 degrees Fahrenheit. Do not place your flower in a drafty area or near a vent.
Fertilizer
Fertilizer is the key to caring for indoor orchids. You can either use liquid fertilizer or organic matter such as compost. Fertilize your orchid throughout the growing season, but give it a rest during the winter.
Proper pruning
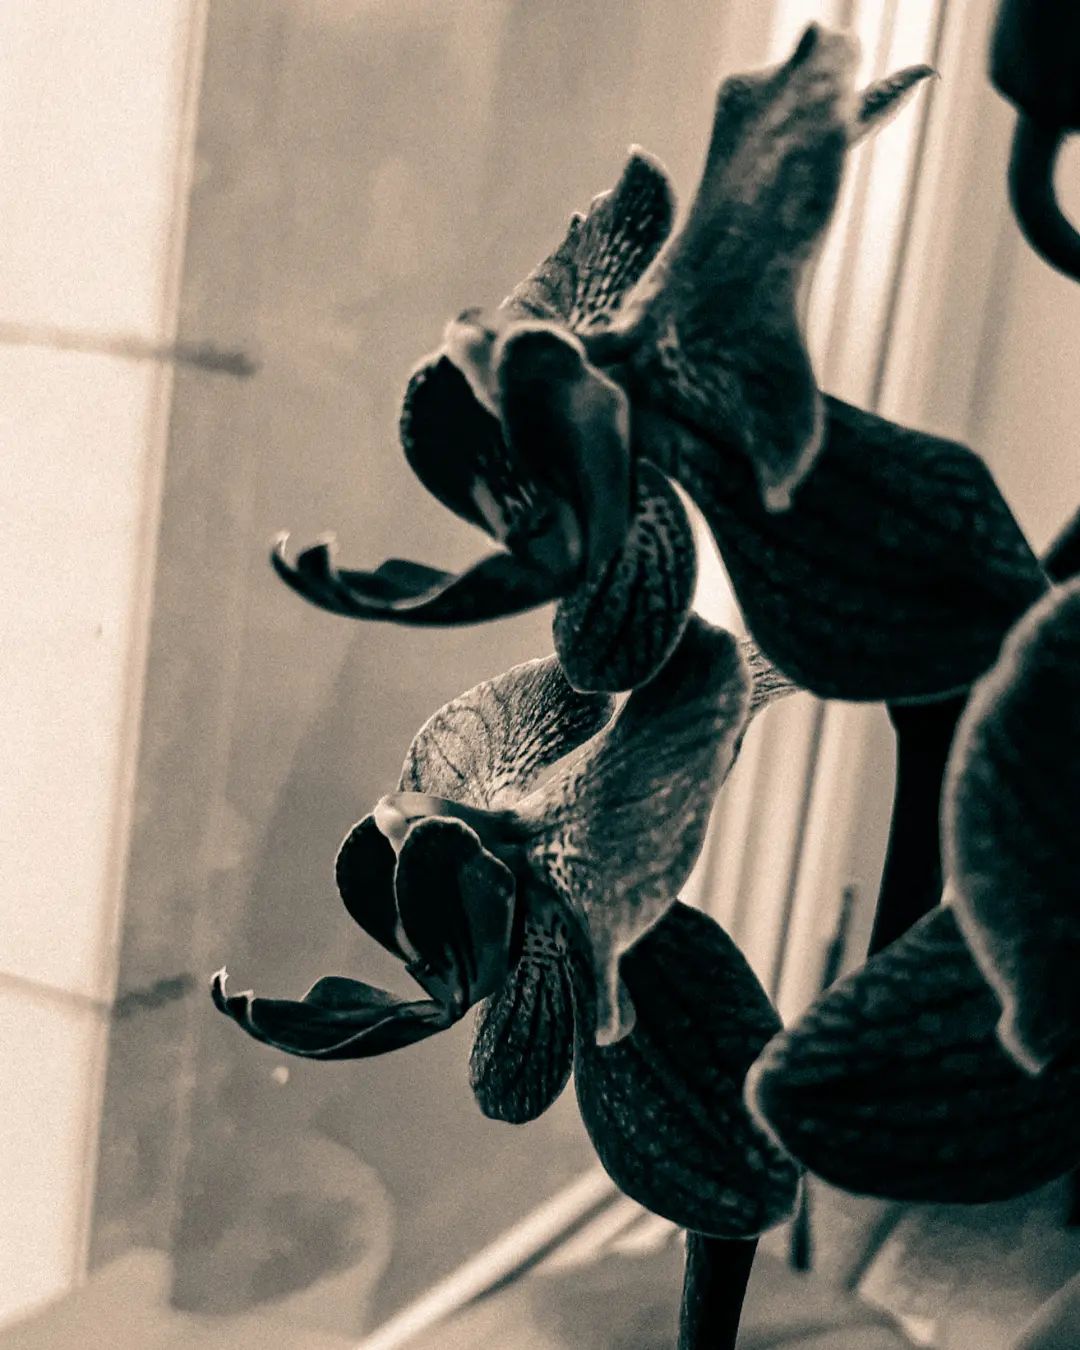
Most importantly, make sure that your tools are very sharp, clean and sterilized before pruning. The cleaner the cut, the healthier the orchid will be afterwards. All fading flowers and old shoots should be trimmed. Cut back the fading flower close to the base of the branch
Breeding
Propagating orchids is not as difficult as it may seem. In fact, with a few simple tips and tricks, you can quickly learn how to propagate your orchid.
The most popular method of propagation, is division. To do this, you should use the following instructions:
- You will need a mature orchid for division;
- It needs to be well moistened and then removed from the pot or container in which it is planted;
- Next, examine the roots carefully and remove any dead or damaged parts;
- Next, carefully cut off the pod-like roots below the leaves;
- Transplant the resulting part of the plant into the prepared soil;
- Water moderately.