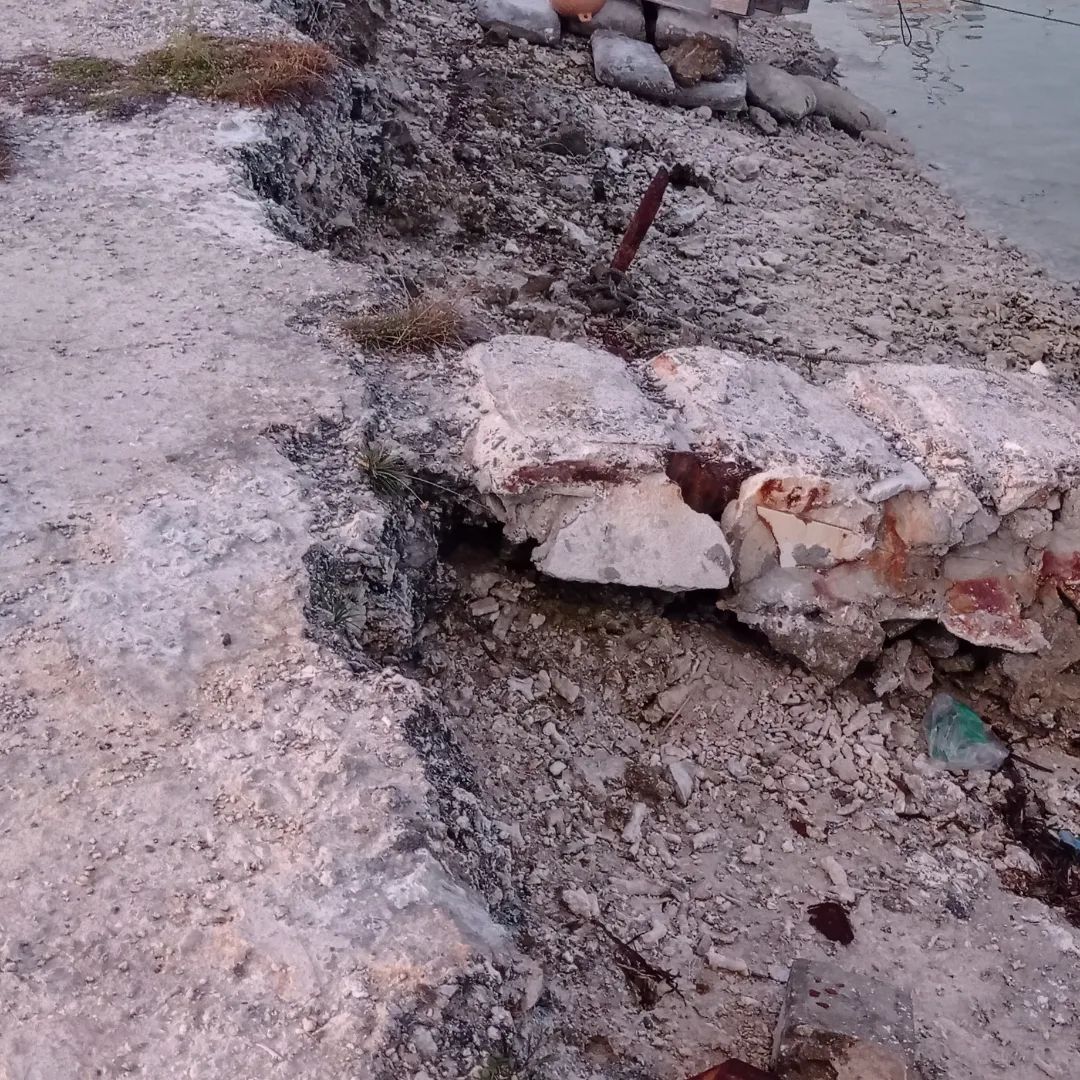
Preventing erosion is an important step in protecting your landscape from soil loss and other damage. Placing rocks on a slope can help stop erosion by holding the soil in place, reducing runoff, and creating a rough surface to slow water movement.
What causes soil erosion?

Soil erosion is caused by a variety of factors, including water, wind, and tillage practices. Rainfall and irrigation can cause water erosion, while wind can cause wind erosion. In addition, human activities such as overgrazing, clear-cutting, and improper tillage practices can also contribute to soil erosion.
Why do stones help stop erosion?
Stones can help stop erosion in a few ways. Firstly, they can act as a physical barrier, breaking up the flow of water or wind and slowing down the erosion process. They can also help to increase water infiltration into the soil, reducing the amount of runoff that can cause erosion. Additionally, stones can provide a surface for plants to grow, which can help to hold the soil in place and prevent erosion. The stones also help to keep soil from being washed away by water due to their weight.
How to keep landscape rocks in place?
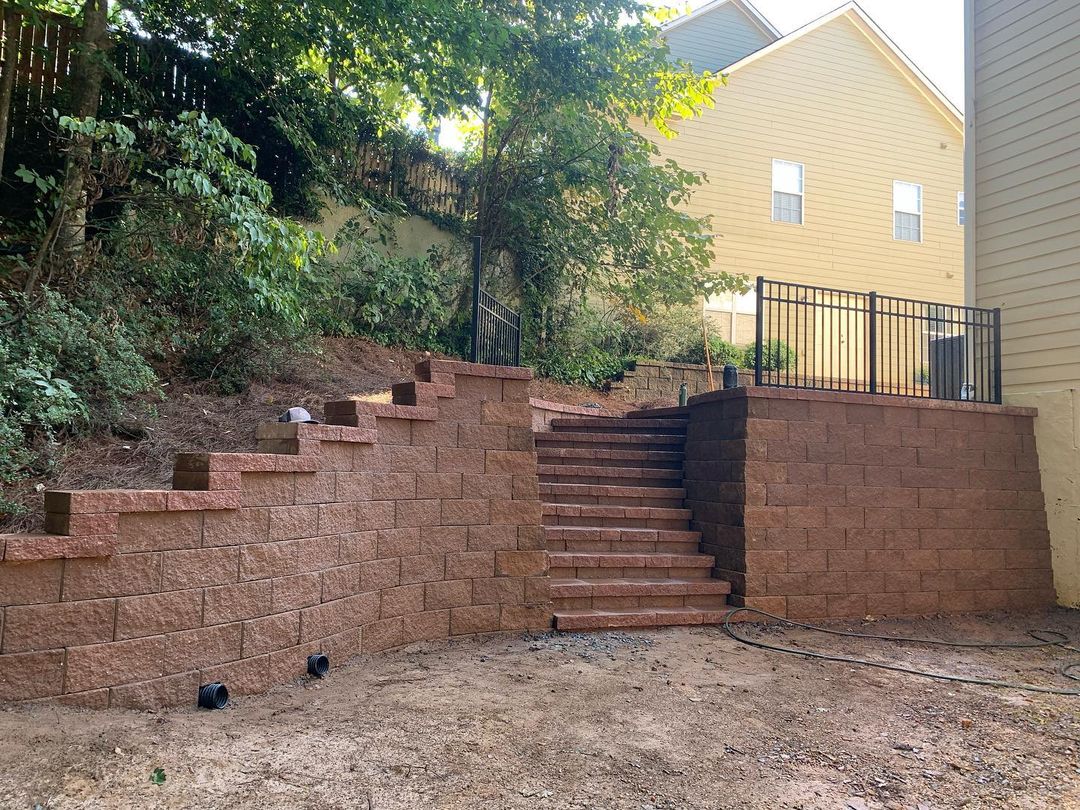
There are several ways to keep landscape rocks in place, including:
- Using a landscape fabric or weed barrier underneath the rocks to prevent plants from growing through them.
- Creating a slight trench or lip around the edge of the rock area to hold the rocks in place.
- Using a sealant or bonding agent to adhere the rocks to each other or to the ground.
- Using a heavy-duty adhesive or construction-grade adhesive to stick the rocks to a surface such as a patio or walkway.
- Using a combination of the above methods for best results.
- You can also use a type of Landscape Edging (made of plastic, metal or wood) to keep the rocks in place.
It’s important to note that, depending on the location of the rocks and the forces that will be acting on them (e.g. foot traffic, rain, etc.), some methods may be more effective than others. Consult with a landscape professional to determine the best approach for your specific project.
Cobblestone

Installing cobblestone can be a bit more challenging than installing other types of pavers, but with the right tools and a bit of patience, it can be done. Here are the general steps for installing cobblestone:
- Prepare the area: Remove any grass, weeds, or other debris from the area where you will be installing the cobblestone. Level the ground and compact it to create a stable base for the pavers.
- Lay a bed of sand: Spread a layer of coarse sand over the prepared area to a depth of about 1 inch. Use a rake to level the sand and make sure it is even.
- Set the cobblestone: Begin laying the cobblestone in a dry run, setting them in place without any adhesive. This will help you get a sense of how the cobblestone will look and allow you to make any adjustments before you start gluing them down.
- Apply adhesive: Once you have the cobblestone arranged to your satisfaction, apply a construction-grade adhesive to the back of each paver and press it firmly into place on the bed of sand.
- Fill in gaps and joints: Once all the cobblestone are in place, use a jointing sand to fill in any gaps between the pavers. Use a broom to sweep the sand into the gaps, then mist the pavers with water to help the jointing sand settle.
- Compact the surface: Use a tamper or a hand-held plate compactor to compact the surface and ensure that the cobblestone are secure and level.
- Clean up: Once the adhesive has cured, sweep off any excess jointing sand and clean the surface of the cobblestone with a mild detergent and water.
It’s important to note that, depending on the size of the area and the complexity of the design, installing cobblestone may require additional tools and specialized equipment. It’s always a good idea to consult with a professional or a experienced contractor to ensure a successful installation.
Gravel
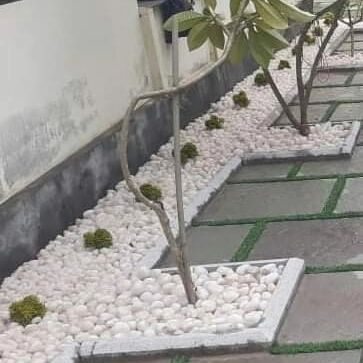
Installing gravel can be a relatively simple and cost-effective way to create a stable surface for a walkway, driveway, or other outdoor area. Here are the general steps for installing gravel:
- Prepare the area: Remove any grass, weeds, or other debris from the area where you will be installing the gravel. Level the ground and compact it to create a stable base for the gravel.
- Lay a weed barrier: If desired, lay a weed barrier over the prepared area to prevent weeds from growing through the gravel.
- Add a layer of crushed stone: Spread a layer of crushed stone over the prepared area to a depth of about 2-4 inches. Use a rake to level the crushed stone and make sure it is even.
- Add the gravel: Spread a layer of gravel over the crushed stone to a depth of about 2 inches. Use a rake to level the gravel and make sure it is even.
- Compact the surface: Use a tamper or a hand-held plate compactor to compact the surface and ensure that the gravel is secure and level.
- Add a layer of sand: If desired, add a layer of sand over the top of the gravel to fill in any gaps and create a more stable surface. Use a rake to level the sand and make sure it is even.
- Repeat the process: If you want a deeper layer of gravel, repeat steps 4-6 until you reach the desired depth.
It’s important to note that the amount of compacting, the type of soil and the type of gravel used will impact the final result. It’s a good idea to consult with a professional or a experienced contractor to ensure a successful installation and to determine the best type of gravel for your specific project.
Natural stones
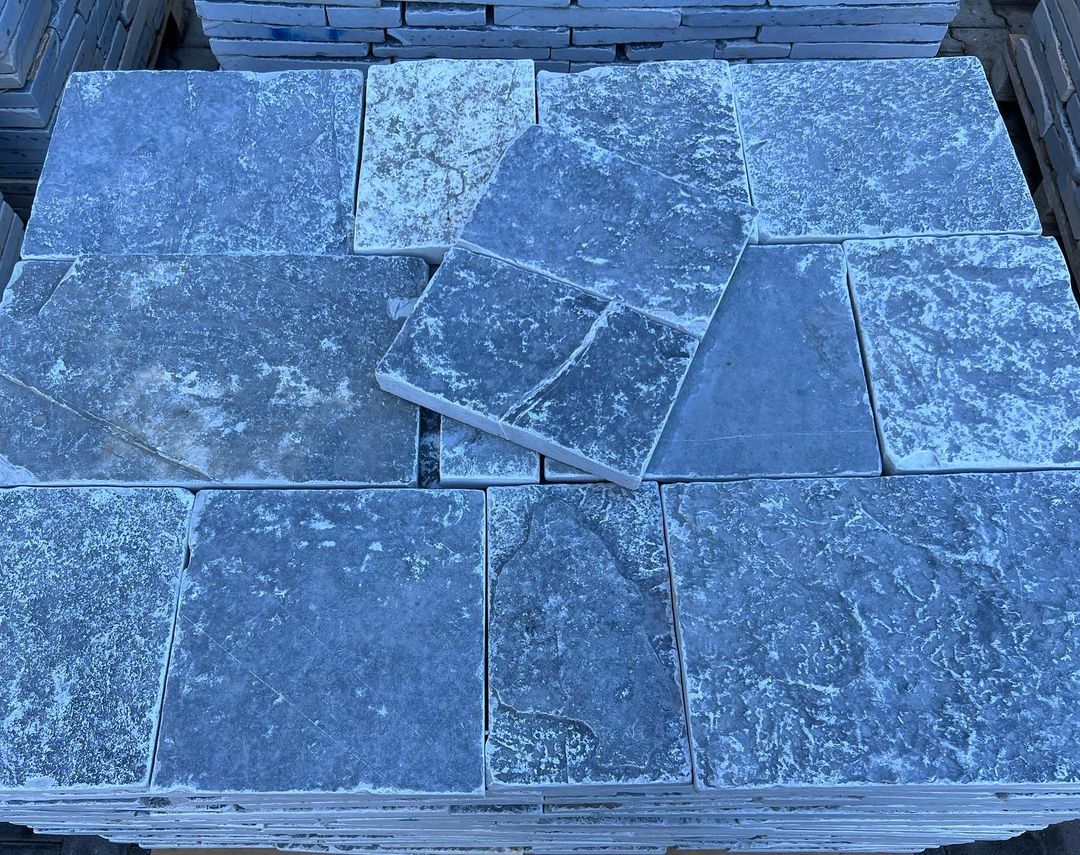
Laying natural stones can be an effective way to control soil erosion on a slope or a hillside. Here are the general steps for installing natural stones to control soil erosion:
- Assess the area: Take a careful look at the area where you will be working. Note the slope, the soil type, and any existing vegetation.
- Prepare the area: Remove any grass, weeds, or other debris from the area where you will be installing the natural stones. Level the ground and compact it to create a stable base for the stones.
- Lay a weed barrier: If desired, lay a weed barrier over the prepared area to prevent weeds from growing through the natural stones.
- Lay the natural stones: Begin laying the natural stones on the surface of the prepared area. Use larger stones at the bottom of the slope, and smaller stones at the top of the slope. Try to create a natural-looking pattern, with the stones fitting together as closely as possible.
- Stabilize the stones: Use a hammer and chisel to cut and shape the natural stones as needed. Use a level to ensure that the stones are stable and will not roll or shift.
- Add soil: Once the natural stones are in place, add soil to the area between the stones. Use a rake to level the soil and make sure it is even.
- Create a drainage system: If necessary, create a drainage system to channel water away from the area. This can be done by installing a drainage pipe or digging a trench and placing gravel or crushed stone in the bottom.
- Plant vegetation: Once the natural stones are in place and the drainage system is installed, plant vegetation on the slope. Use plants that are well-suited to the soil and the climate, and that will not grow too tall and disturb the natural stones.
It’s important to note that, depending on the size of the area and the complexity of the design, installing natural stones may require additional tools and specialized equipment. It’s always a good idea to consult with a professional or a experienced contractor to ensure a successful installation and to determine the best approach for your specific project.
What size rock is best for erosion control?
The size of rock used for erosion control depends on the specific application and the type of erosion that needs to be controlled. Generally, larger rocks are better for controlling erosion caused by flowing water, such as in a stream or river. These larger rocks, such as riprap or boulders, can be placed along the banks to break up the flow of water and prevent erosion. Smaller rocks, such as pea gravel, are better for controlling erosion on slopes or hillsides. They can be used in conjunction with vegetation to hold the soil in place and prevent erosion.
How do you stabilize Hill erosion?
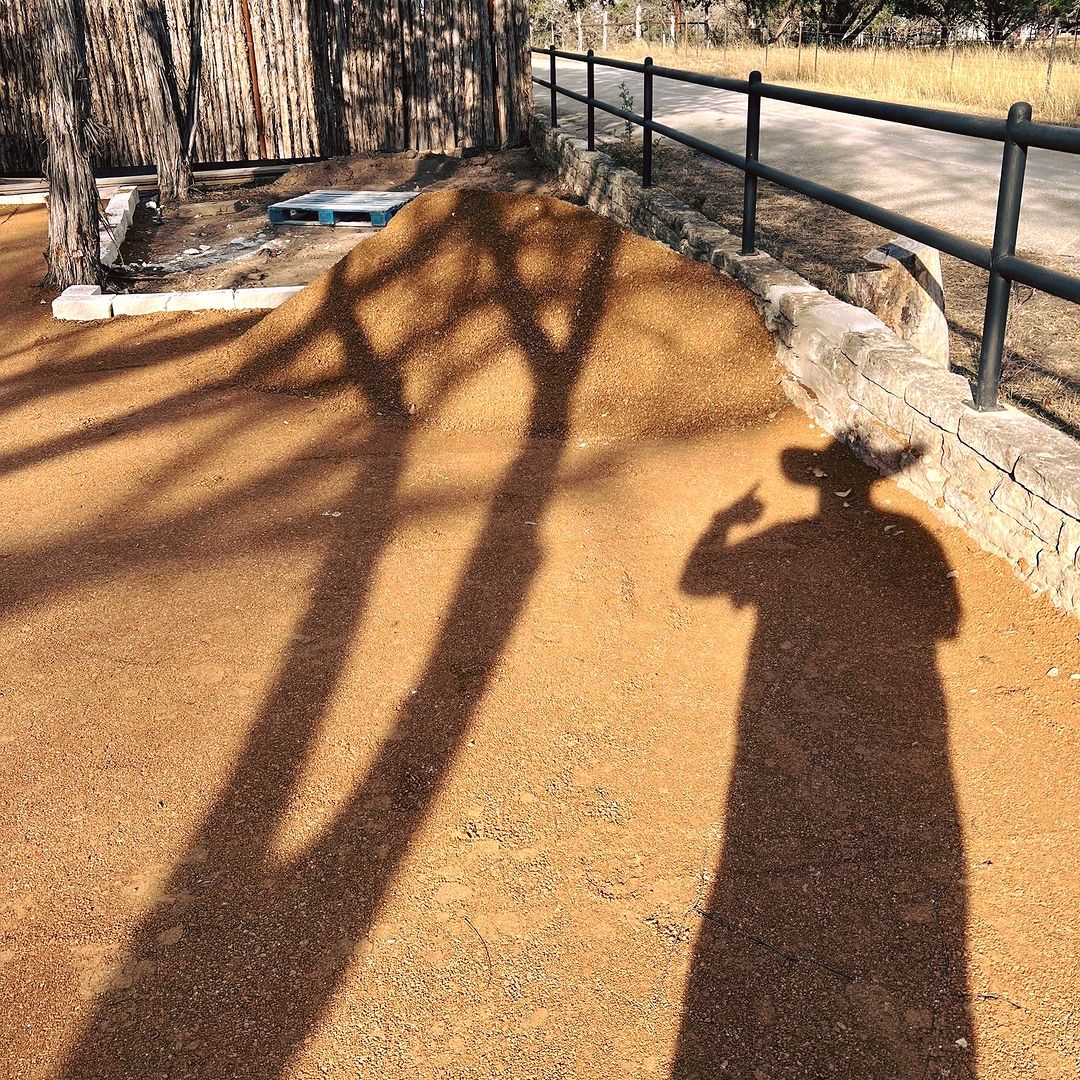
There are several methods to stabilize hill erosion, some of which include:
- Planting vegetation: Planting grasses, shrubs, and trees on a slope can help to hold soil in place and prevent erosion. The roots of these plants help to anchor the soil and slow down water runoff.
- Terracing: Creating terraces on a hillside can help to slow down water runoff and prevent erosion. These terraces can be created using retaining walls or by building up soil along the contour of the hill.
- Erosion control blankets: These blankets, made of natural or synthetic materials, are placed on the slope to help hold soil in place and prevent erosion. They are typically anchored in place with stakes or pins.
- Rock and boulder barriers: Placing large rocks or boulders at the base of a hill can help to break up water flow and reduce erosion.
- Gully plugs: Gullies are formed by heavy runoff and can be dangerous for human and animal habitats. Gully plugs are rock, soil or other materials that can be used to fill a gully and prevent further erosion.
It is important to consult with a professional engineer or geologist to determine which method or combination of methods is appropriate for the specific site and to ensure proper installation.
How do you stabilize loose soil on a slope?
There are several methods to stabilize loose soil on a slope, some of which include:
- Planting vegetation: Planting grasses, shrubs, and trees on a slope can help to hold soil in place and prevent erosion. The roots of these plants help to anchor the soil and slow down water runoff.
- Erosion control blankets: These blankets, made of natural or synthetic materials, are placed on the slope to help hold soil in place and prevent erosion. They are typically anchored in place with stakes or pins.
- Rock and boulder barriers: Placing large rocks or boulders at the base of a slope can help to break up water flow and reduce erosion.
- Retaining walls: Retaining walls can be used to hold soil in place on a slope. They can be made of various materials, such as concrete, rock, or wood.
- Soil reinforcement: Soil reinforcement is a technique that uses geosynthetic materials such as geogrid, geotextile, or geocomposite to increase soil strength and stability.
- Soil stabilization: Soil stabilization is a technique where soil is mixed with a binder such as cement, lime, or fly ash to improve its strength and stability.
How do you put rocks on a steep hill?

There are several methods for placing rocks on a steep hill, some of which include:
- Hand placement: Rock can be placed by hand on a steep hill, but this method is labor-intensive and can be dangerous. It is best for small areas or for placing larger rocks that cannot be moved with equipment.
- Rope and pulley system: A rope and pulley system can be used to move larger rocks up a steep hill. The rocks are attached to a rope and pulled up the hill using a pulley system. This method can be more efficient than hand placement, but it still requires a significant amount of manual labor.
- Skid steer or backhoe: A skid steer or backhoe can be used to move larger rocks up a steep hill. These machines have the ability to lift and move heavy rocks with minimal labor.
- Helicopter: For larger projects, or for placing rocks in hard-to-reach areas, a helicopter can be used to drop rocks into place. This method is efficient, but it is also the most expensive.
What is the most common method of slope stabilization?
The most common method of slope stabilization is the use of vegetation. Planting grasses, shrubs, and trees on a slope can help to hold soil in place and prevent erosion. The roots of these plants help to anchor the soil and slow down water runoff. This method is relatively cost-effective, environmentally friendly, and can be easily maintained. Other methods include using erosion control blankets, rock and boulder barriers, retaining walls, soil reinforcement, and soil stabilization, but the use of vegetation is considered the most common and widely used method for slope stabilization.